.png?width=128&height=72&name=Hema%20Maps%20Logo%20(1).png)
Loading the latest HN explorer onto your Windows PC
Connecting your HN device
Uploading Waypoints
Exporting as GPX files
Moving files to the HX2 cloud
Loading the latest HN explorer onto your computer.
To move your Waypoints from your HN6 or HN7 you will need to install HN explorer onto your PC first.
To ensure that you have the latest version of the Hema Explorer application, you can visit the following link first:
https://kb.hemamaps.com/what-is-the-latest-version-of-the-hema-explorer-applicaation
This link will provide you with the most up-to-date information regarding the latest version available.
Downloading and installing the latest version of the Hema Explorer application is important as it ensures that you have access to all the latest features, improvements, and bug fixes. Also the latest version has the option to Export as GPX, which we will need.
In addition to checking for updates, the provided link also offers a Windows Mobile Device Center (WMDC) download option if your computer does not connect the device. WMDC is a useful tool that allows you to synchronize data between your HN6 or HN7 device and your computer. This can be helpful when you need to transfer waypoints, tracks, or other data from your device to your PC.
Connecting your HN device
Turn on the unit
Press settings

Press USB
Select Windows Sync and then press the save button ( The orange square disk at the top )
Connect the unit to the computer.
Windows Mobile device centre will come up – minimise this, do not turn it off.
The following link is a video showing these steps with a HN6:
And this video outlines installation with a HN7:
Uploading Waypoints
On the Computer desktop
In a clear space, right click on the mouse, go to new, then folder.
Name the folder HN Data.
Now open the HN Explorer program

Click on the words Hema Navigator at the top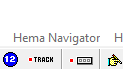
Click on - Get All Waypoints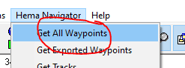
Close the Hint window
Exporting as GPX files
Click on the Save icon
Click on Export to GPX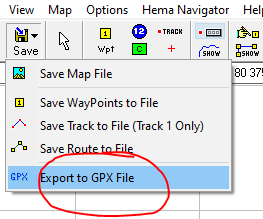
Click on Save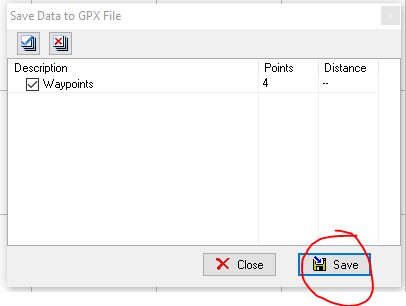
Click Desktop
Click the folder HN Data.
Name the file: HN Waypoints
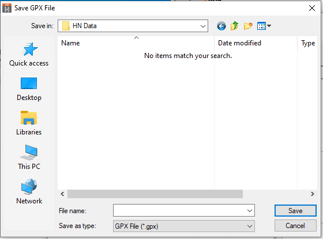
Click on Save
Click on Close
Moving files to the HX2 cloud
Open your internet browser and go to: cloud.hemamaps.com

Login to your account – Use the same sign details as on your HX2.
Once you have signed in, hover the pointer over Tracks – Click on My Tracks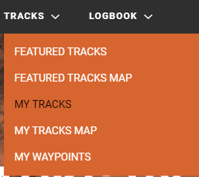
On the right hand side, select new track
At the top, click on the words: Click here!

Open the HN Data file on the desktop where you saved the waypoints to.
Grab the saved GPX file and drop it into the cloud box.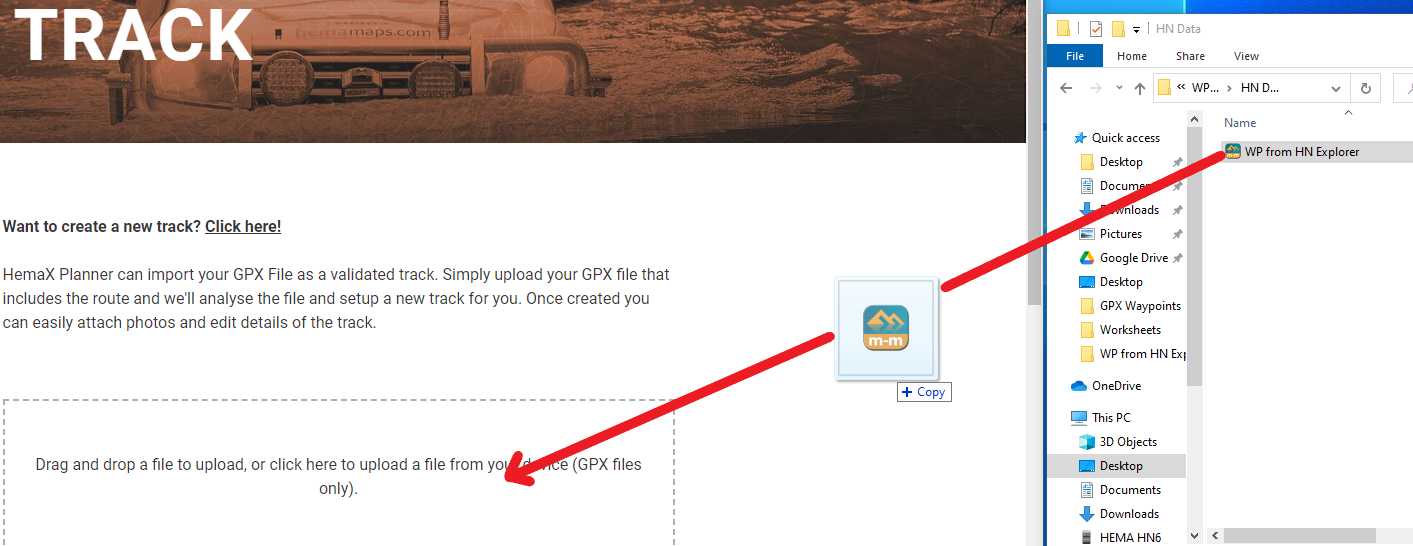
Wait for a minute for it to be uploaded to the cloud
Now we can check that the selected waypoint/s have been uploaded.
Hover over the tracks and then open My Waypoints.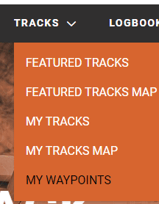
After you are happy that you have the Way Points you want, the last thing we need to do now is to Sync the HX2 to the cloud.
The following article will show you how to do this:
https://kb.hemamaps.com/how-do-i-sync-to-the-hemax-cloud
Your waypoints have now been transferred to your HX2.