How to Download GPX files from the Hema Explorer Cloud and upload them to the Hema Maps Cloud
Hema recommends that you always back up your data, and a good way to keep your data safe is to have it saved in multiple places such as on your unit, on the cloud, and on your computer.
This article aims to answer 2 main questions,
1. How to download your Tracks from the Hema Explorer Cloud.
2. How to upload GPX files to the new Hema Maps Cloud.
How to download Tracks from the Hema Explorer Cloud
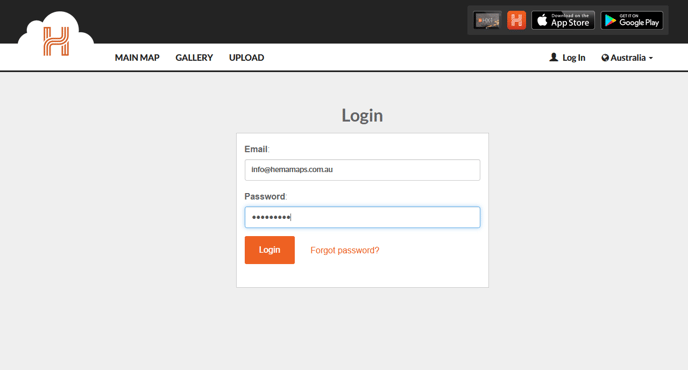
1. Open a Web browser and go to the cloud.hemaexplorer.com website and sign into your Explorer account.
2. Once you have logged in, click on your Username and select either Tracks/Waypoints/Routes
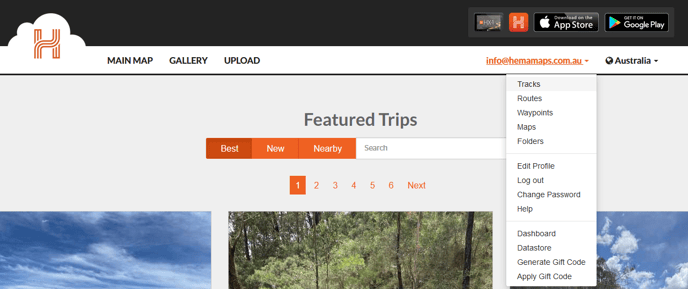
this will bring you to a page showing all of your relevant data
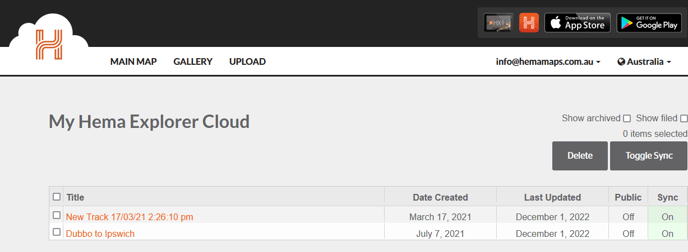
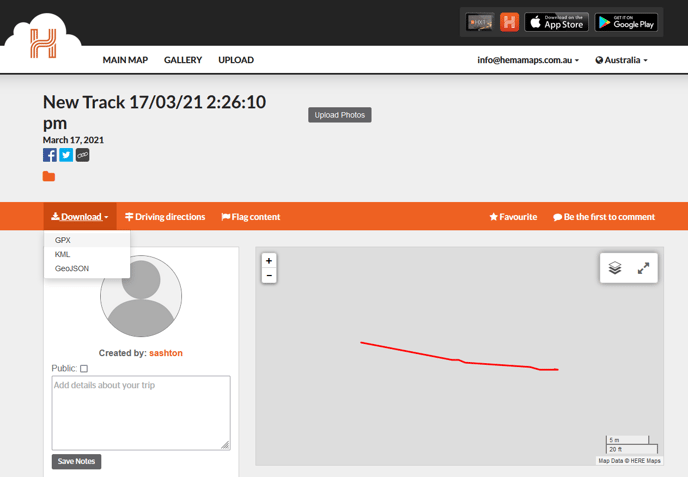
3. Once you have found the Track/Waypoint/Route you would like to download click on the name of the Track/Waypoint/Route which will bring you to the Track/Waypoint/Route info page
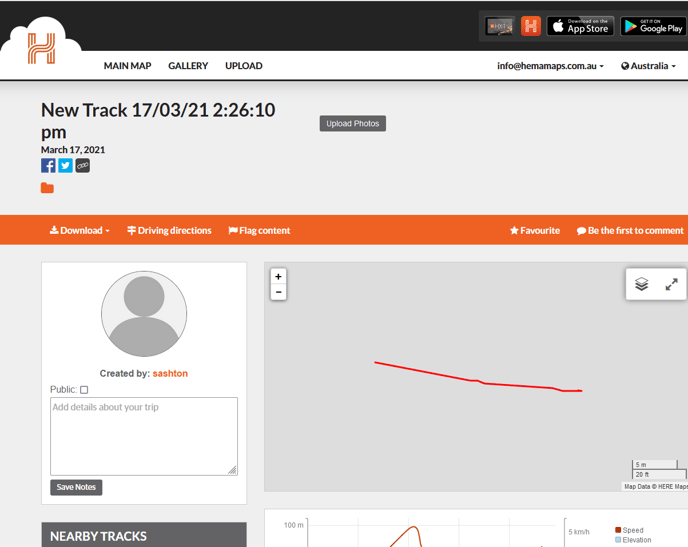
4. Click on the the Download button and select GPX, this will save the file to your Downloads on your Computer
You will need to repeat steps 2-4 for each Track/Waypoint/Route that you want to download.
How to upload GPX files to the new Hema Maps Cloud.
1. Open a Web browser and go to the cloud.hemamaps.com website and sign into your account Hema Maps account. You can find a link to it here.
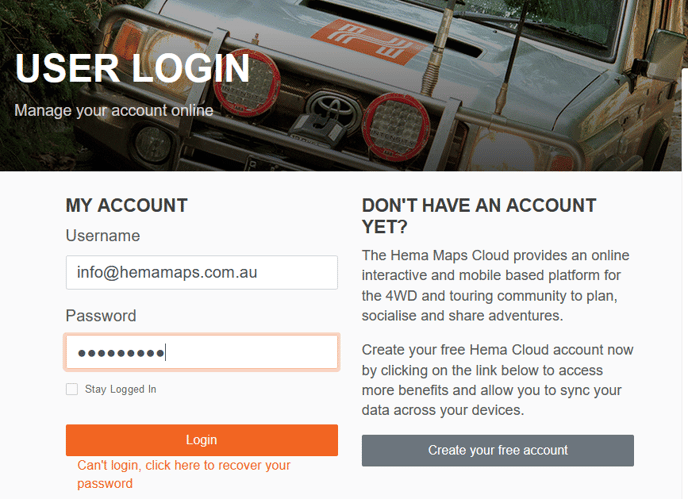
If you do not have a Hema Maps account, you can create an account for free by clicking on Create your free account and filling out the details.
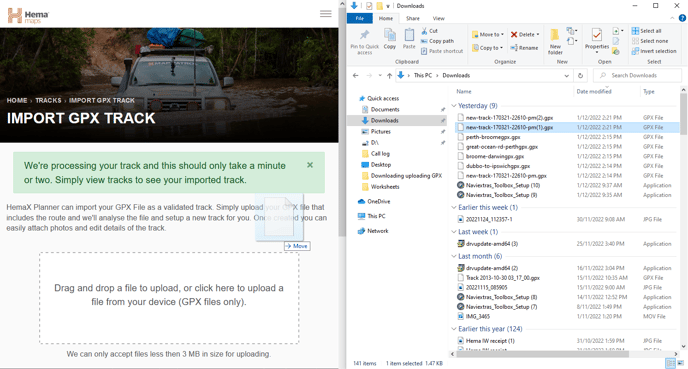
2. Once you have signed into your account, click on this import gpx link.
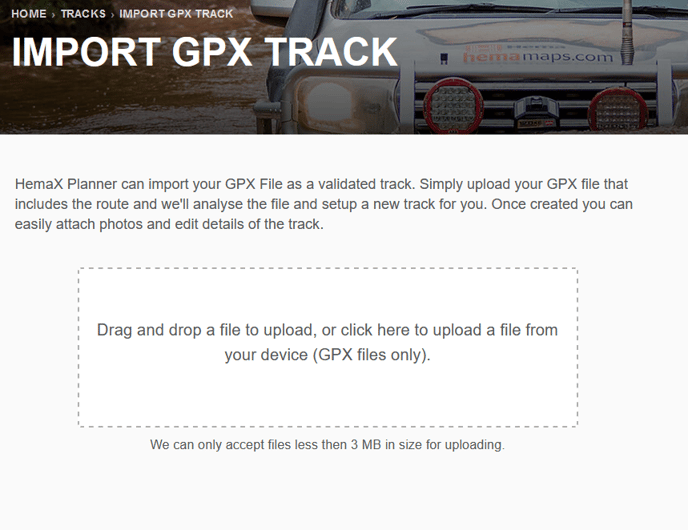
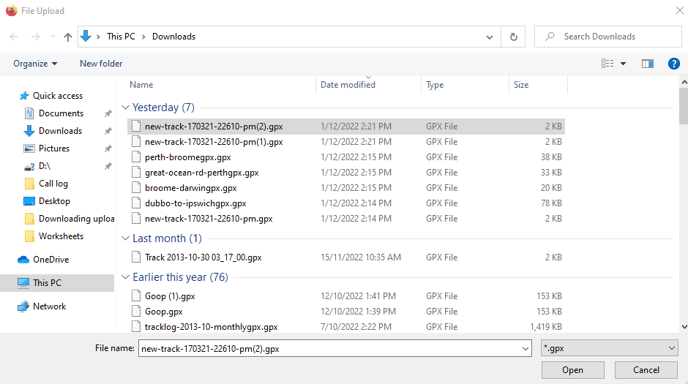
4. Click on the the white box (shown above) and a window should appear showing your recent Downloads, from here select a single Track/Waypoint/Route you wish to upload and click Open, this will begin the upload of the Track/Waypoint/Route to the cloud.
You will need to repeat Step 4 for every Track/Waypoint/Route that you would like to upload.
5. Alternatively you may open the saved location of your Tracks/Waypoints/Routes and 'Drag and drop' them into the file uploader, this is much quicker to do and is handy if you know where your files are saved.
For cloud migration support, please submit a ticket here. 👍