.png?width=128&height=72&name=Hema%20Maps%20Logo%20(1).png)
The Complete Hema Maps Stand (9321438002529)
Setup instructions

The Complete Hema Maps Stand is made up of three parts:
- Base Map stand
- Header Card
- Accessories
Includes:
- 6 aluminum pieces (2 x sides, 1 x floor, 1 x lower front, 1 x lower back, one top back)
- 1 steel basket
- 4 screw in floor stabalisers
- 12 hex head screws
Tools required:
- Standard phillips head screwdriver
Assembly:
- Diagram attached
2. Header Card - this is a laminated header card that slots into the top of the base map stand
Includes:
- 1 x laminated Hema branded Header card
Tools required:
- N/A
Assembly:
- The header card slots into the three slots on the top of the base map stand
3. Accessories - consists of a set of stickers and a secure fixing for the HX-2 GPS unit.
A) Stickers - the stickers are provided to put on the top part of the map stand, below the header card (where there are three holes). If the unit can be powered, a HX-2 GPS should be attached to the middle small hole (using the fixings as discussed below). If not powered the middle small hole can be covered with a HX-2 sticker. To the left and right or the middle hold, any of the other six sticker combinations can be used depending on what other products are sold well.
Includes:
- Seven stickers:
- Hema HX-2 Navigator
- Hema Navigator Sun Visor
- Hema HX-2 GPS Navigator Ruggedised Case
- Hema Wi-Fi Reversing Camera
- Hema Heavy Duty Wi-Fi Reversing Camera
- AMHXD3 - On-Road/Off-Road Navigation Module
- Hema University - Online webinar training
Tools required:
- N/A
Assembly:
- Three of the seven available stickers can be applied to the area below the header card (where the three small holes are).
Includes:
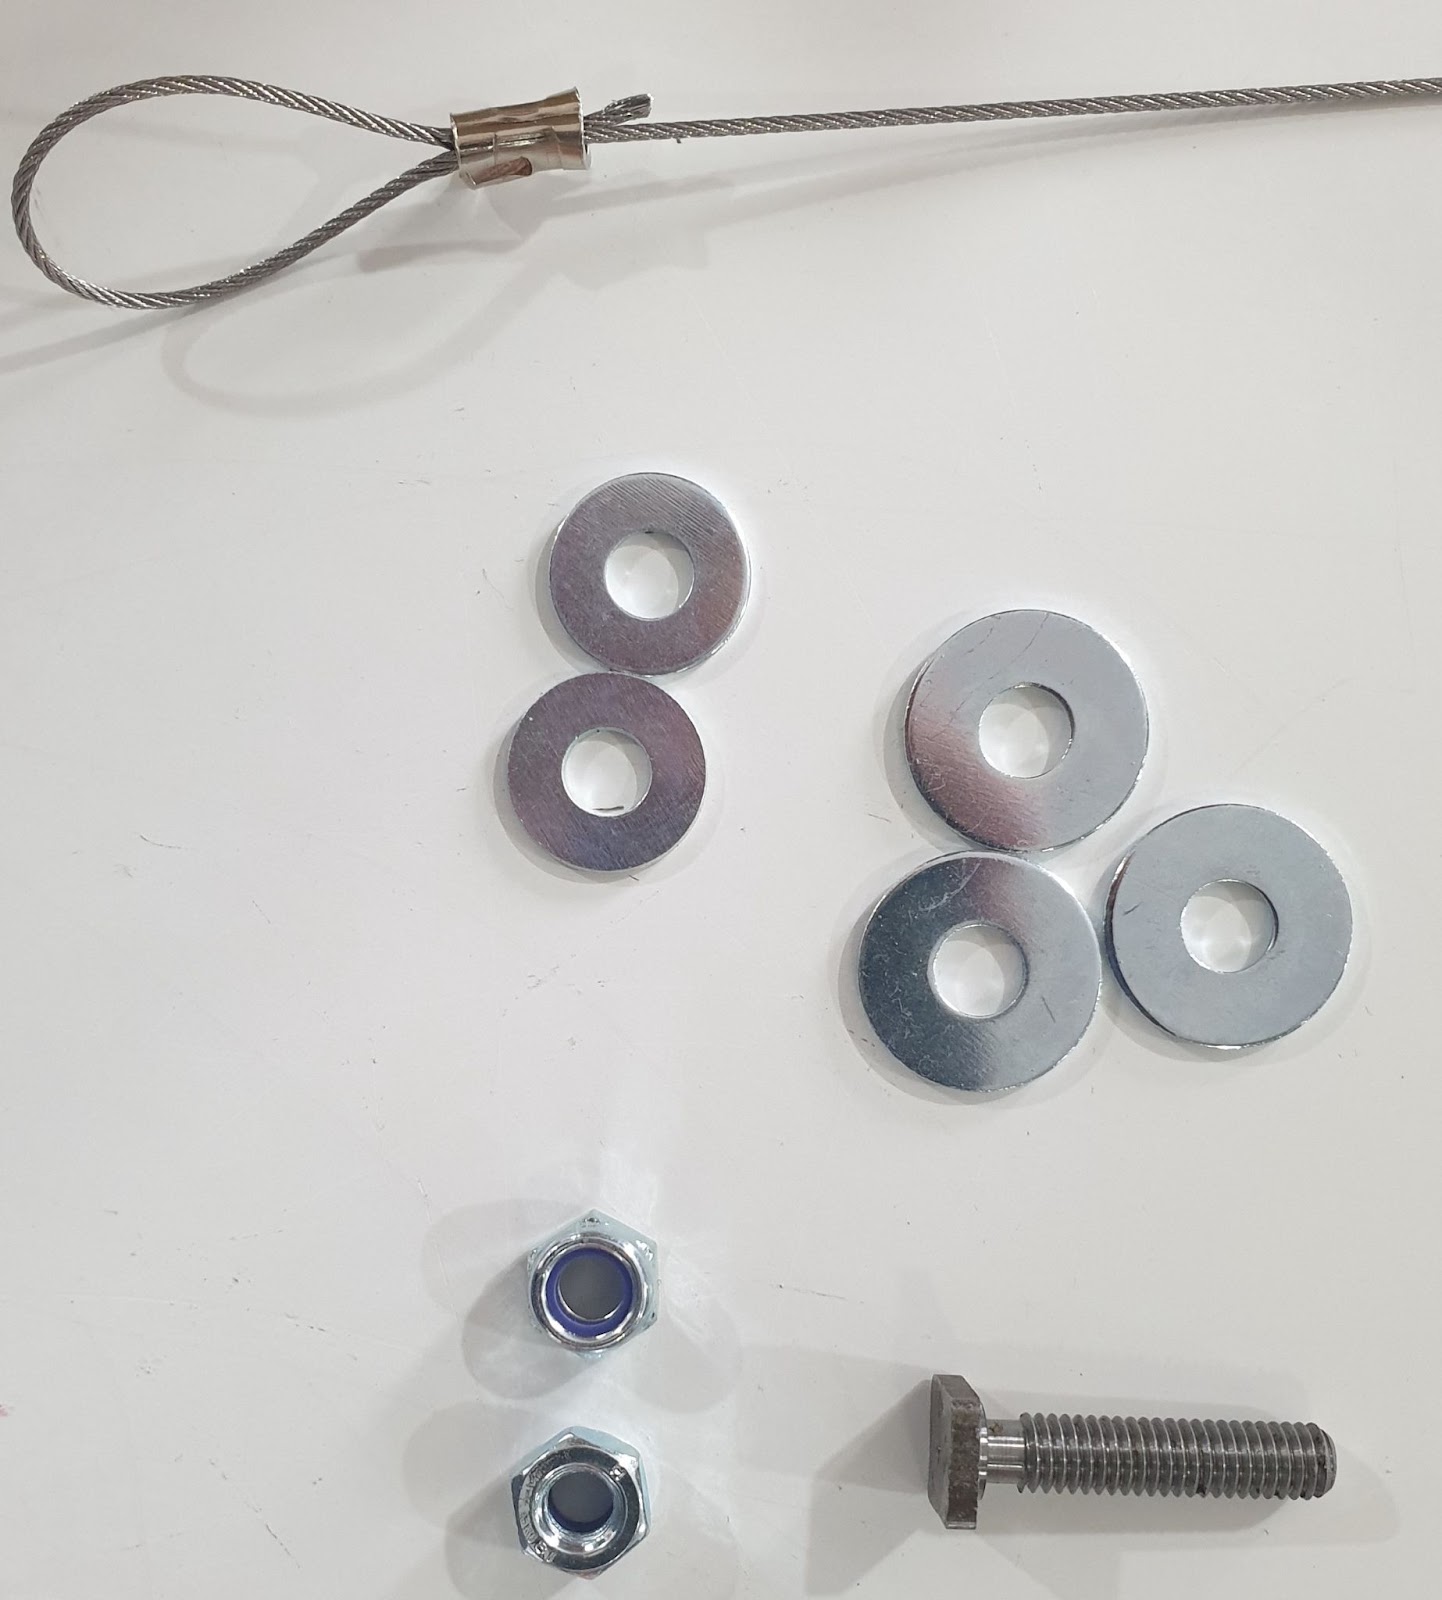
- 1 x Bolt
- 2 x small washers
- 3 x large washers
- 2 x Nyloc Hex Nut
- Steel wire with two loops
Tools required:
- 10mm combination spanner or adjustable wrench
Assembly:
- Slide the bolt into the rear mounting bracket of the HX-2 unit until it reaches the top
- Slide a small washer down the bolt
- Fasten a Nyloc Hex Nut using the 10mm combination spanner or adjustable wrench
- Slide a large washer down the bolt to sit behind the Hex Nut
- Insert one of the loops of the steel wire
- Slide the other large washer down the bolt to sit behind one of the loops of wire
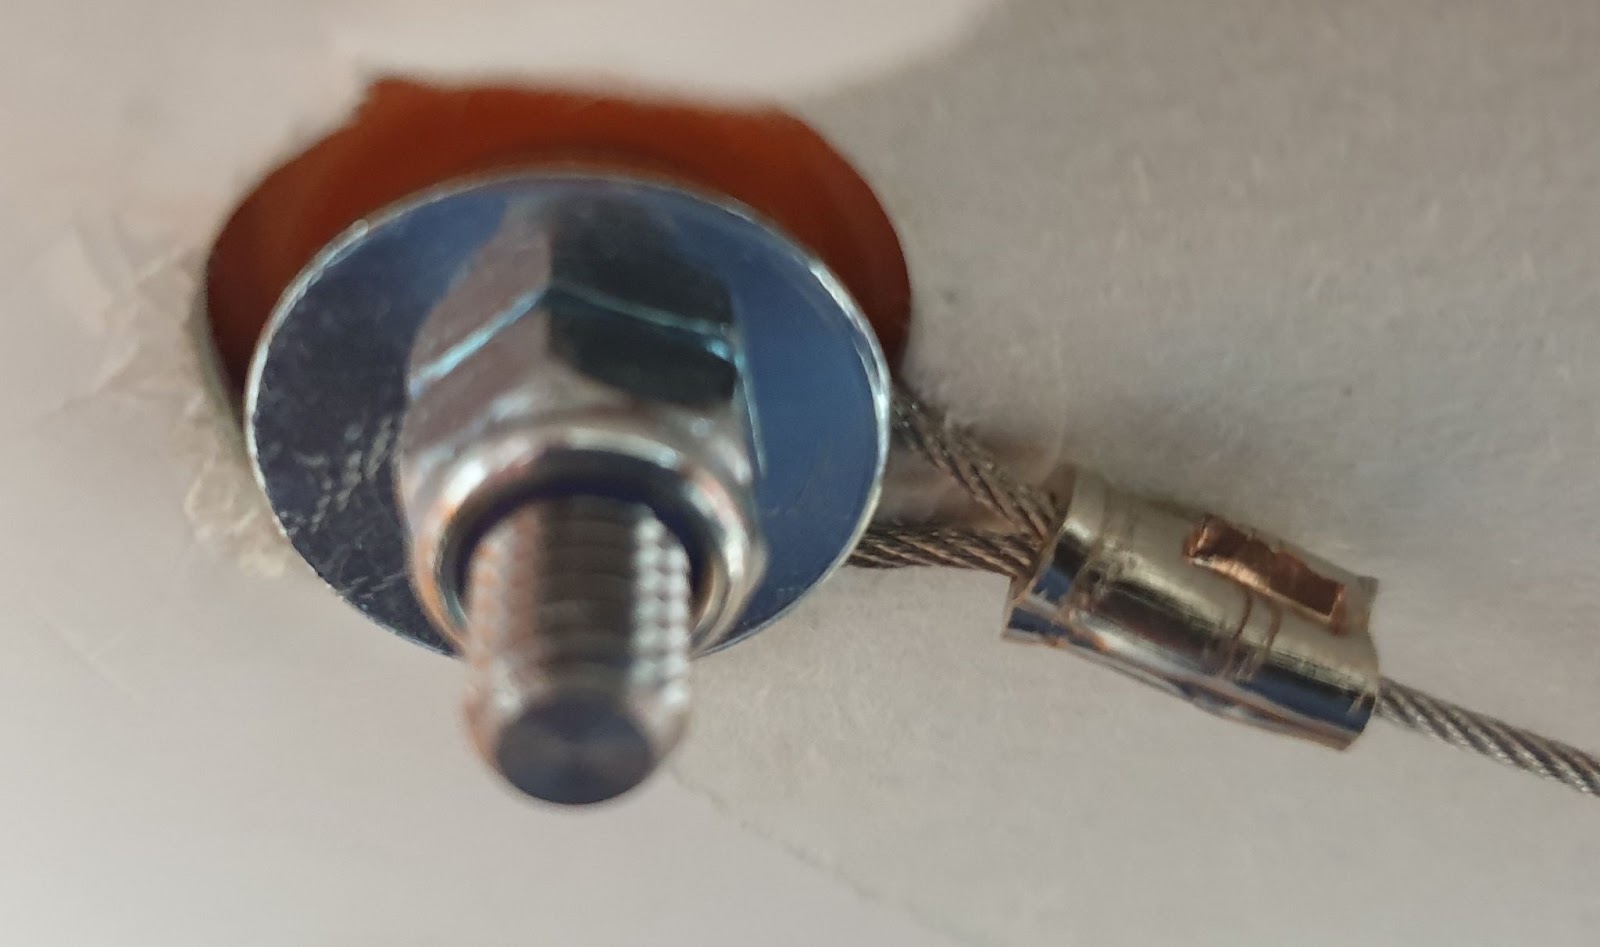
- Push the bolt (with the washers and nut) through the small middle hole at the top of the base stand
- This is the front part of the HX-2 attachment and should look like this:
9. Now at the read of the unit, slide a small washer onto the protruding bolt
10. Feed the steel wire through the larger whole (to the bottom left of the affixed GPS) so that the second loop can be fed through the bolt at the back (behind the washer in step 9)
11. Slide down a larger washer down the bolt
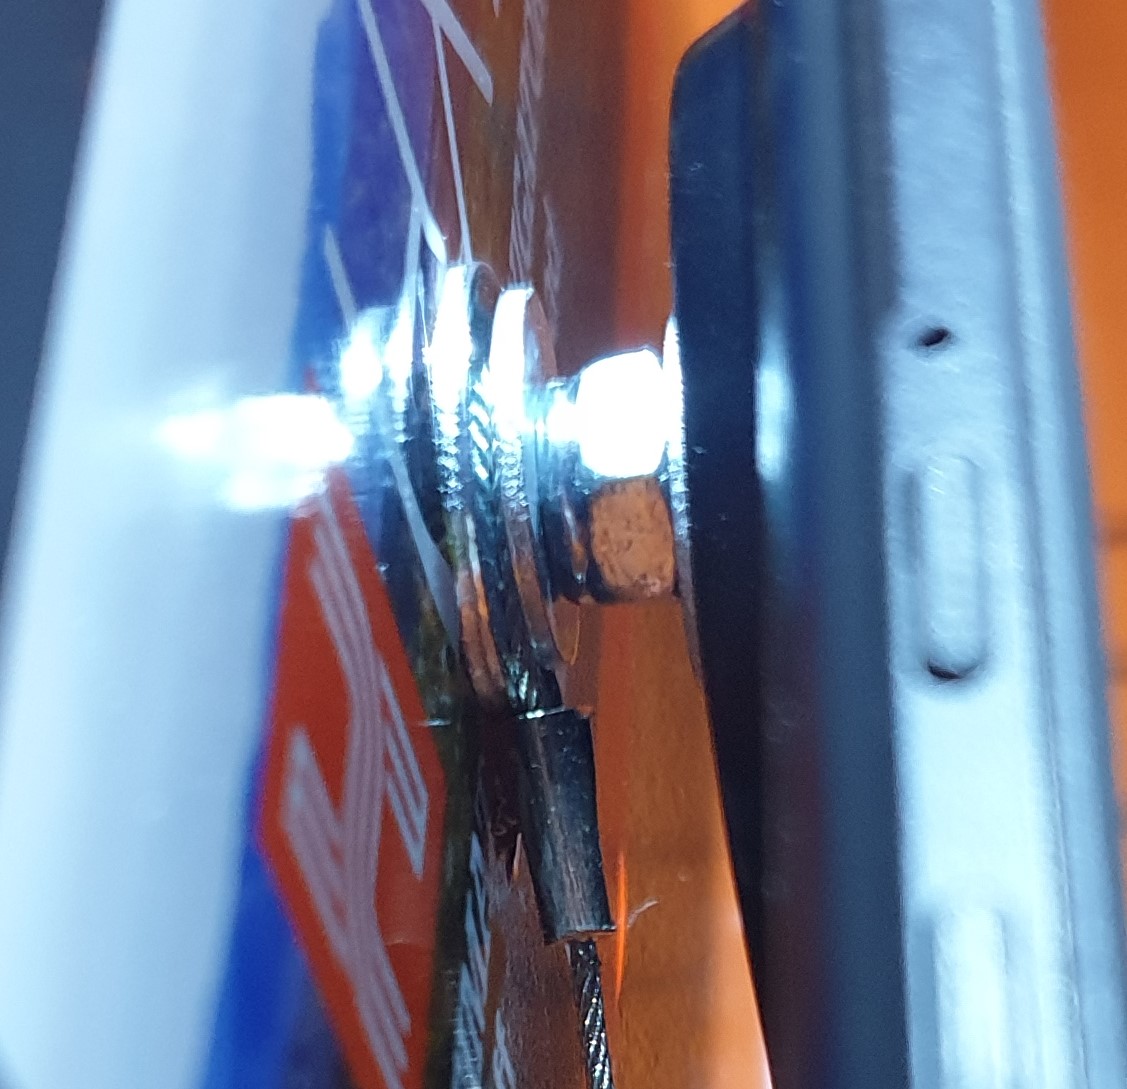
12. Fasten the second Nyloc Hex Nut using the 10mm combination spanner or adjustable wrench
13. The rear of the unit should now look like this: