.png?width=128&height=72&name=Hema%20Maps%20Logo%20(1).png)
Getting Started
When you first run the application, it prompts you to enable the device's Location Service. This is used to identify the best available map for your location. You must enable Location Service while using it for GPS / Navigation, as without Location Services active, the device will not provide any positioning information.
If you are using the app on a wi-fi only model iPad, the iPad is relying on the wi-fi network to inform the location service about the approximate location which you are currently in. There is nothing that the app can do about this situation.
If the wi-fi network does NOT report the approximate location which you are in, the map screen may stubbornly refuse to change. In this case, the best option is to switch to a network provider which WILL provide a decent (or at least approximate) location which the app on the iPad can use to start correctly.
An example would be to use your smart mobile phone to create a wi-fi hotspot which the iPad could use to gain access. This normally provides location information immediately.
This should only be required the first time you run the app. The app needs to get some idea of it's initial location when first started up.
If you are using your mobile phone as a wi-fi hot spot, when done, we advise you to turn off this feature to avoid incurring excess data costs.
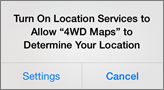
If Location Services are not switched on you need to switch them on, both globally, and for the specific app(s). If you see the prompt shown above, tap the Settings button to go to the Location Services settings page on your iPad.
The Location Services settings are located under Settings - Privacy - Location Services.
You can check the settings under the Location Services section of the Settings app on your device.
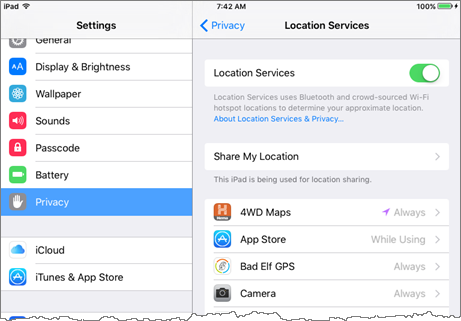
For any given app, you can turn on Location Services using the following options:
Never
This option will stop most navigation apps from working, as this prevents the app from being able to access position data from Location Services entirely. It's rather pointless running an app which depends upon position data, and then refusing to allow the app to access it!
While Using the App
This option means that the app will have access to Location Services data only while it is running in the foreground. ie. if you background the app, and bring another app to the foreground, the Hema 4WD Maps app will not be able to access location data. If you are recording a track at the time that you background the app, and then bring it to the foreground later, you will see a straight line in the track where the app has not received any position data for the period that it was in the background.
Always (recommended)
This option allows the app to access position data from Location Services regardless of whether it is in the foreground or the background, which is the recommended option.
Note that these options depend on the app itself, so what you see may vary depending on which app(s) you have installed.
It is faster if you are on a WiFi network to download map data, but any internet connection will work. Of course, downloading large amounts of map data over a cellular connection is not recommended, and you may incur data charges on your cellular plan.
Main Page & Flipside Page
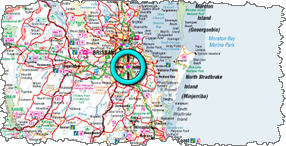
The app consists of two screens or pages, the Main page, and the Flipside page. Examples are shown below:
|
Main page |
Flipside page |
|
|
|
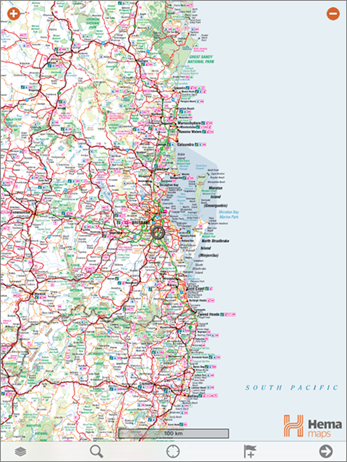
Main Page
The Main Page displays the current map, with your position shown by an indicator in the centre of the screen.
Along the bottom of the page are icons or buttons which will perform certain tasks within the app.

You get to the Flipside Page by tapping the arrow button on the bottom toolbar

You can return to the Main Page by tapping the return arrow button on the Flipside Page.

While the GPS has a valid position fix, you can tap the GPS Lock Button. This instantly jumps the current map to show your current location centred on the Main Page.
As the device moves, the current position is shown and the maps scrolls automatically to keep the position in the same place on the screen. You can drag the map to position the GPS Position Indicator to one side, to show more of the map in the direction of travel.
You can drag the map to reposition the Position Indicator anywhere on the Main Page, as long as you don't drag it far enough to move the Position Indicator OFF the page. The indicator will remain locked at the position you dragged it to.
If you drag off the edge of the current map, the GPS is no longer "locked", which allows you to freely scroll anywhere. Tap the GPS Lock Button again to reset to your current location.
When the map is displayed, you can scroll and zoom by tapping and dragging. Map data is automatically downloaded as you move about the map when using the base map.
The maps in the Hema 4WD Maps app are raster images, which means the level of detail in each map is fixed. If you want to see more detail, you have to switch to a different map.
Main Page Controls and Indicators
The Main page displays controls which allow you to zoom in and out, and an indicator which displays your current position.
Position indicator
The Position indicator shows your current location.
If the device has a built-in GPS (or you have a valid connection to an external GPS device), your location is shown as a red circle with cross hairs on the map. You can change the colour of the indicator within the GPS Settings screen. The colour of the indicator shown here has been changed for the sake of clarity.
The centre of the position marker circle flashes to indicate when the position is updated, usually every second or two if there is good GPS satellite reception.
If the position marker circle turns grey, it means that GPS reception has been lost.
The estimated accuracy of your GPS position can be displayed on the Flipside page.
Zoom In and Zoom Out buttons


The Zoom In and Zoom Out buttons allow you to zoom in and out of the current map. You can also do this using pinch and unpinch actions. In some circumstances, it is easier to use the on-screen Zoom buttons than pinch and unpinch.
These buttons can be turned on or off to suit your preference within the General Settings screen.
Scale Bar

The scale Barshows an approximate distance depending on the current map and zoom.
The Scale Bar can be toggled on and off from the General Settings screen.
Main Page toolbar


Maps button
Switch to the Maps page. Here you can perform various functions related to maps.

Find Place button
Switch to the Find Place page. Here you can search for a particular named location.
Lock Location button
Lock your current GPS position. If you drag the map around so that your position indicator is off-screen, tapping this will return you to your current position (providing you have a satellite fix). If you tap-and-hold this button, you can lock the screen to avoid accidental interaction with the app.

Add Mark button
Add the current position to your list of Marks (waypoints). See the section on Adding Marks in the Marks chapter of this eGuide for further information.
Flip Page button
Flips the Main page to the Flipside page. The Flipside page has a different toolbar located at the bottom of the screen, as shown below.
Flipside Page
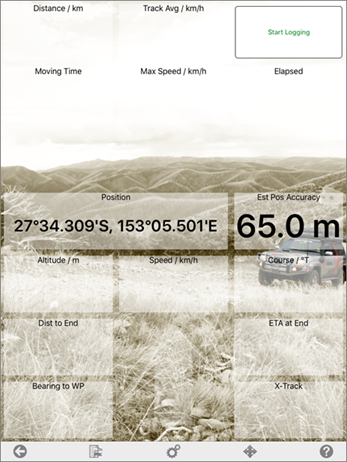
The Flipside page contains an array of data fields showing various GPS parameters, such as average speeds, altitude etc.
The content of these fields can be customised to suit your requirements, although the default layout and values are suitable for most people. See the Data fields section of this eGuide for details.
Flipside Page Toolbar

The toolbar located along the bottom of the Flipside page contains the following buttons, as shown below
Back Button
Returns you to the Main page

Data Button
Opens the Marks Page, where you can manage the current list of marks (waypoints). You can also change tabs to manage, Routes and Tracks from here.

Settings Button
Opens the Settings Menu, allowing you to customise the program settings. Click the icon for more info

Data Layout Button
Opens the Data Layout menu, allowing you to customise the layout of the data fields on both the flipside page, and the main map view.

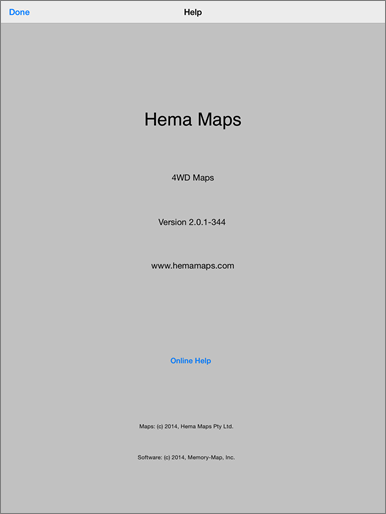
Help Button
Opens the Help page, showing some details of the app, and the Online Help button, which links to the online help as shown here.